How to Send Website Form Leads to WhatsApp (Contact Form 7, Elementor, Google Forms)
Send contact form leads to WhatsApp: make each Contact Form 7, Elementor or Google Forms entry a contact that gets an approved welcome template in seconds.
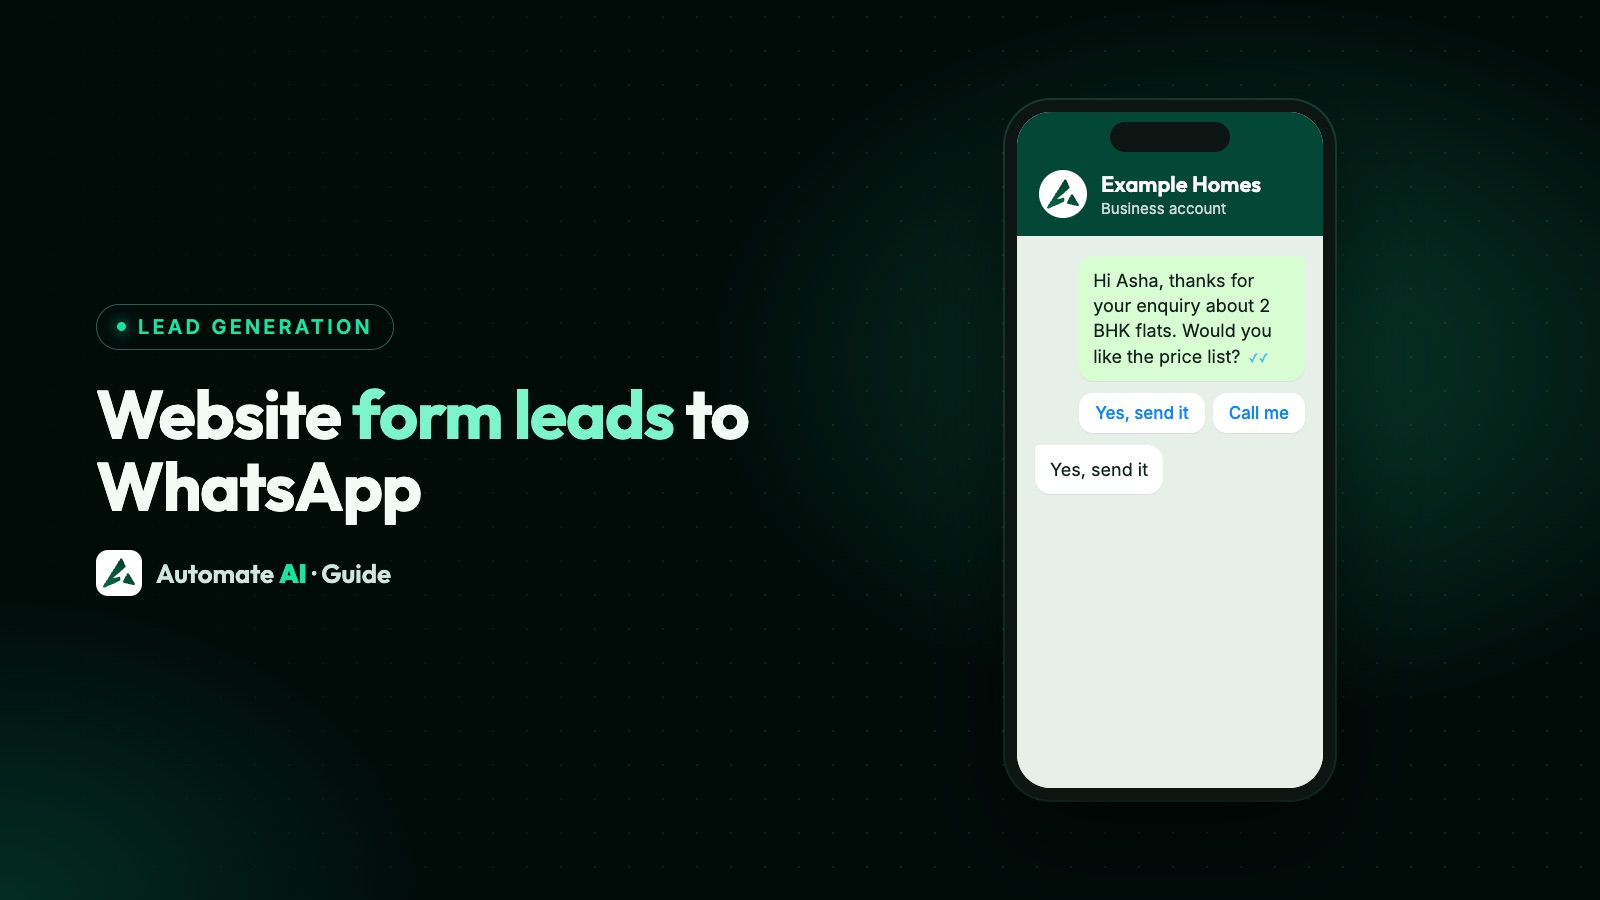
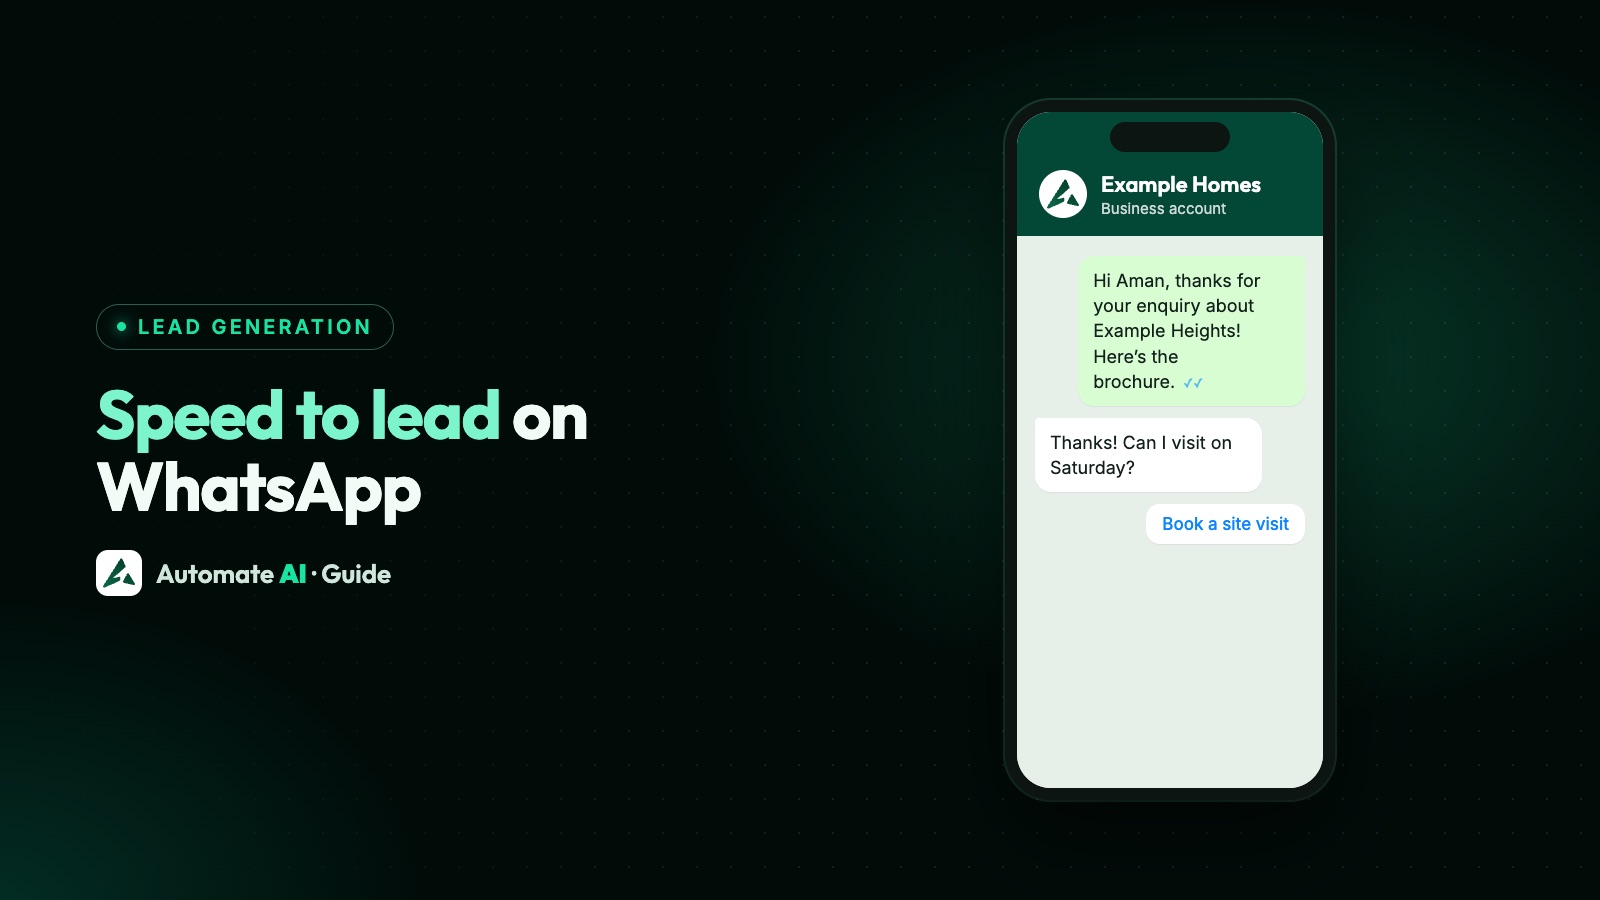
To send contact form leads to WhatsApp, post each form entry to a WhatsApp Business API platform, which saves the person as a contact and sends them an approved template straight away. The lead gets a WhatsApp message from your business seconds after pressing Submit, and the reply lands in your team’s inbox.
That’s different from the common trick of redirecting the visitor to a wa.me link after they submit. A redirect only opens WhatsApp with a message typed in, and nothing reaches you unless the visitor presses send. This guide shows the webhook route in Automate AI, then how to connect Contact Form 7, Elementor and Google Forms to it, and the consent wording your form needs.
Key takeaways
- A webhook plus a template messages every lead, while a wa.me redirect depends on the visitor pressing send.
- In Automate AI, form entries go to Settings › Webhook Settings, authenticated with an API key in the Authorization header.
- Set what happens to duplicate numbers, the group and status of new contacts, and the welcome template once.
- Elementor and Google Forms connect through Zapier or a small script; Contact Form 7 needs a webhook plugin, a developer hook or Zapier.
- The form must ask for opt-in that names your business, and the first message must be an approved template.
Three ways a form can reach WhatsApp
Most searches for “contact form to WhatsApp” turn up one of three set-ups. Only one of them sends the lead a message without anyone lifting a finger:
| Set-up | What happens | Weak spot |
|---|---|---|
| wa.me redirect after Submit | WhatsApp opens on the visitor’s phone with the form answers typed in | Nothing arrives unless they press send, and desktop visitors may not have WhatsApp open |
| Email notification | You get an email and someone messages the lead by hand | Slow at night and at weekends, and easy to miss |
| Webhook to a WhatsApp API platform | The entry becomes a contact and gets your welcome template | Needs an approved template and an opt-in line on the form |
The redirect still has a place: if the visitor writes to you first, a normal 24-hour conversation opens and no template is needed. But you can’t count on it. The webhook route makes sure every lead with a valid number hears from you, and you can keep the redirect as a bonus on the thank-you page.
Not what you’re after? To collect details inside a chat, see WhatsApp forms. For a chat button that visitors tap themselves, see how to add a WhatsApp chat widget.
What you need first
- A WhatsApp Business API number connected to Automate AI. Lead capture, including website forms, is in the AI + Automation Plan and Series 4; see pricing.
- An API key. Owners and managers create one on the Developer page. Copy it straight away, because it’s shown only once.
- An approved template for the welcome message. Write it in Templates and wait for Meta’s review before you switch the form on.
- An opt-in line on the form (sample wording below).
- A group for these leads, such as “Website enquiries”, so you can follow up and report on them.
Set up Webhook Settings in Automate AI
Open Settings and, under Leads & apps, choose Webhook Settings. The screen shows the endpoint URL to copy and a sample request. Then work down the Behavior card:
- Enable webhook. This switch turns the endpoint on or off without deleting your API keys.
- On duplicate phone number: choose Skip to keep the existing contact as it is, or Update to overwrite it with the new details. Numbers are matched within your business.
- Default contact group: new contacts from the form join this group.
- Default status: new contacts get this status, such as “New lead”.
- Welcome message to new contacts: choose Send a WhatsApp template and pick one. Only approved templates are listed.
- Fill in the variables. Each one can be custom text or a contact field, such as first name, city or one of your own contact fields. If the template has an image, video or document header, upload the file or paste a public link.
- Save Webhook Settings, then send a test entry from your own phone number.
What the form has to send
Every connection below ends the same way: an HTTP POST to the endpoint URL with the header Authorization: Bearer YOUR_API_KEY and a body that uses Automate AI’s field names. JSON is the safest format. The main fields:
| Field | What goes in it | Example (sample data) |
|---|---|---|
phone (required) | The number with country code, digits only, an optional + at the start, 10 to 17 characters | +919800000000 |
first_name, last_name | The name, in two parts | Priya, Shah |
name | A full name instead, split into first and last for you | Priya Shah |
email | A valid email address | priya@example.com |
city, state, country | Address details, if the form asks | Pune |
custom_fields | Your own fields, keyed by the field key in Settings › Contact Fields | {"service": "Kitchen design"} |
Three things trip people up. First, the endpoint refuses fields it doesn’t know, so map only the fields above and don’t pass the whole form through. Second, spaces and dashes in the phone number are refused too, so clean the number before sending. Third, an optional field sent blank, such as an empty email, gets the whole entry refused, so send it only when it’s filled in (or make it required on the form). Finally, the reply tells you what happened to the contact: created, updated or skipped. It doesn’t tell you whether the welcome was delivered, so check that on a test entry.
Contact Form 7 to WhatsApp
Contact Form 7 sends entries by email. Its wordpress.org plugin page doesn’t list a built-in webhook or Zapier connection, so you need one of these:
- A webhook add-on plugin. Look for one that lets you set the URL, a custom
Authorizationheader and your own field names, so the body matches the table above. - A developer hook. A WordPress developer can add a small function that runs on the server after each successful entry and posts the mapped fields to the endpoint. The key stays on your server.
- Zapier in the middle, if your add-on can only send to a plain URL. Catch the entry in Zapier and forward it, as in the Elementor steps below.
Avoid the shortcut of posting from the browser when the form succeeds. It would put your API key in the page for anyone to copy.
Elementor forms to WhatsApp
The Form widget is part of Elementor Pro, so this route needs it. Elementor’s Form widget has a Webhook action under Actions After Submit, and its setting is a URL. Automate AI needs a header and its own field names, so put Zapier between them. Elementor’s own Zapier guide says the integration needs its Advanced plan or higher (or some Elementor Hosting plans), and Zapier lists Webhooks by Zapier on its paid plans (Professional, Team and Enterprise), not Free.
- In Zapier, make a Zap and choose Webhooks by Zapier with the Catch Hook trigger. Copy the URL it gives you.
- In Elementor, edit the form, add Webhook under Actions After Submit and paste the URL.
- Save, open the live page and send a test entry, so Zapier can see your fields.
- Add an action: Webhooks by Zapier, event POST. Paste the Automate AI endpoint URL and set Payload Type to JSON.
- Under Data, add
phone,first_name,emailand any other fields from the table, mapped to the form’s answers. Leavecustom_fieldsout on this route, and add email only if the form makes it required. - Under Headers, add
Authorizationwith the valueBearer YOUR_API_KEY. - Test the step, check that the contact appears and the welcome arrives, then turn the Zap on.
Prefer no Zapier? Elementor’s developer docs show how to build a custom form action that posts submitted fields to another service from your server. A developer can use that pattern to call the endpoint directly.
Google Forms to WhatsApp
Google Forms has no webhook setting of its own. There are two dependable routes:
With Zapier
Use the Google Forms trigger New Form Response, then the same Webhooks by Zapier POST step as above. Zapier’s help page says form responses must be saved to a Google Sheet for this to work, so link the form to a sheet first.
With Apps Script, no extra tools
- From the form, open the Apps Script editor and write a function that reads the answers from the submit event’s
response(each item’s title and answer). - Clean the phone answer to digits and a +, and build the JSON body with Automate AI’s field names.
- Send it with
UrlFetchApp.fetch, using methodpost, content typeapplication/jsonand anAuthorizationheader with your key. - Keep the key in the script’s properties, not in the code itself.
- Click Triggers, then Add Trigger, choose the form submit event and save.
Google notes that installable triggers always run under the account of the person who created them, and that trigger quotas apply. Use a shared business account rather than one person’s login.
Consent, the 24-hour window and the first message
WhatsApp’s Business Messaging Policy says you may only contact people who gave you their number and opted in to messages from you. Meta’s opt-in guide says the opt-in must make clear the person is agreeing to hear from your business and must name it, and a website form is an accepted place to collect it. Sample checkbox, left unticked:
“Yes, Example Interiors may send me updates about my enquiry on WhatsApp.”
Only send entries with the box ticked. In Zapier, add a condition before the POST step; in Apps Script, check the answer before sending. Then the timing rules apply: a form lead hasn’t written to you, so no 24-hour customer service window is open, and Meta allows only approved templates. Sample welcome templates:
| Purpose | Sample template (demo data) | Likely category |
|---|---|---|
| Confirm the enquiry | Hi {{1}}, thanks for your enquiry with Example Interiors. A designer will message you here today. Reply with a good time to talk. | Utility, if Meta agrees it’s about their request |
| Booking request | Hi {{1}}, we’ve received your request for a site visit in {{2}}. Reply 1 for a weekday or 2 for a weekend. | Utility |
| Welcome with an offer | Hi {{1}}, thanks for visiting Example Interiors. This month, design consultations are free with any kitchen order. Reply STOP to opt out | Marketing |
Meta decides the category when it reviews the template, and a mix of an update and a promotion counts as marketing. More in WhatsApp template messages and WhatsApp opt-in. Once the lead replies, a 24-hour window opens and your team, a chatbot or the AI Assistant can answer normally.
After the welcome: follow up with a drip
Many leads read the welcome and don’t answer. Because every new form contact joins your default group (a repeat number keeps its groups), you can add that group to a drip campaign in Campaigns › Drip Campaigns, as a drip sequence:
- Step 1 a day later: a short reminder template with one easy question.
- Step 2 a few days later: something useful, such as a price guide or examples of past work.
- Stop on reply on, so a person takes over the moment the lead answers.
- Respect business hours on, unless you want night-time leads to hear from you straight away.
For response times across every lead source, read speed to lead. For more ways to bring leads in, see WhatsApp lead generation, and if you already use n8n, connecting WhatsApp to n8n uses the same endpoint.
Frequently asked questions
Can Contact Form 7 send entries to WhatsApp?
Not on its own. It sends entries by email, so you need a webhook add-on, a small server-side hook written by a developer, or Zapier, to post each entry to your WhatsApp API platform.
Is a wa.me redirect enough?
It helps, but it only opens WhatsApp with a message typed in. Nothing reaches you unless the visitor presses send. A webhook and a welcome template reach every lead who opted in.
Why does the first message have to be a template?
A form lead hasn’t messaged you, so there’s no open 24-hour window. Outside that window Meta lets businesses send only approved templates.
What happens if someone fills in the form twice?
Automate AI matches the number. Depending on your setting, it skips the entry or updates the contact with the new details. Either way, no second welcome goes out.
Do I need Zapier?
Not always. Google Forms can post entries with Apps Script, and a developer can post from your WordPress server. Zapier helps when a form can only send to a plain URL.
Can I use a free-text welcome instead of a template?
You can choose free text, but it only reaches people who wrote to you in the last 24 hours. For new form leads, choose a template.
Sources
- WhatsApp Business Messaging Policy
- Meta: Get opt-in for WhatsApp
- Meta: Send messages (customer service window)
- Meta: Template categorization
- Elementor: Integrate forms with Zapier
- Zapier: Send webhooks in Zap workflows
- Zapier: How to get started with Google Forms on Zapier
- Contact Form 7 on WordPress.org
- Elementor developers: custom form action example
- Google Apps Script: Installable triggers
WhatsApp rules and prices change. We check these guides against Meta’s documentation, but always confirm current terms with Meta before you rely on them. Questions? Message us on WhatsApp at +91 836 977 8812.