Automate AI Tutorial for Beginners: From Sign-Up to Your First Campaign
A beginner’s tutorial for Automate AI: sign up, connect WhatsApp, import contacts, create a template, send a campaign, reply as a team and switch on AI. Free PDF.
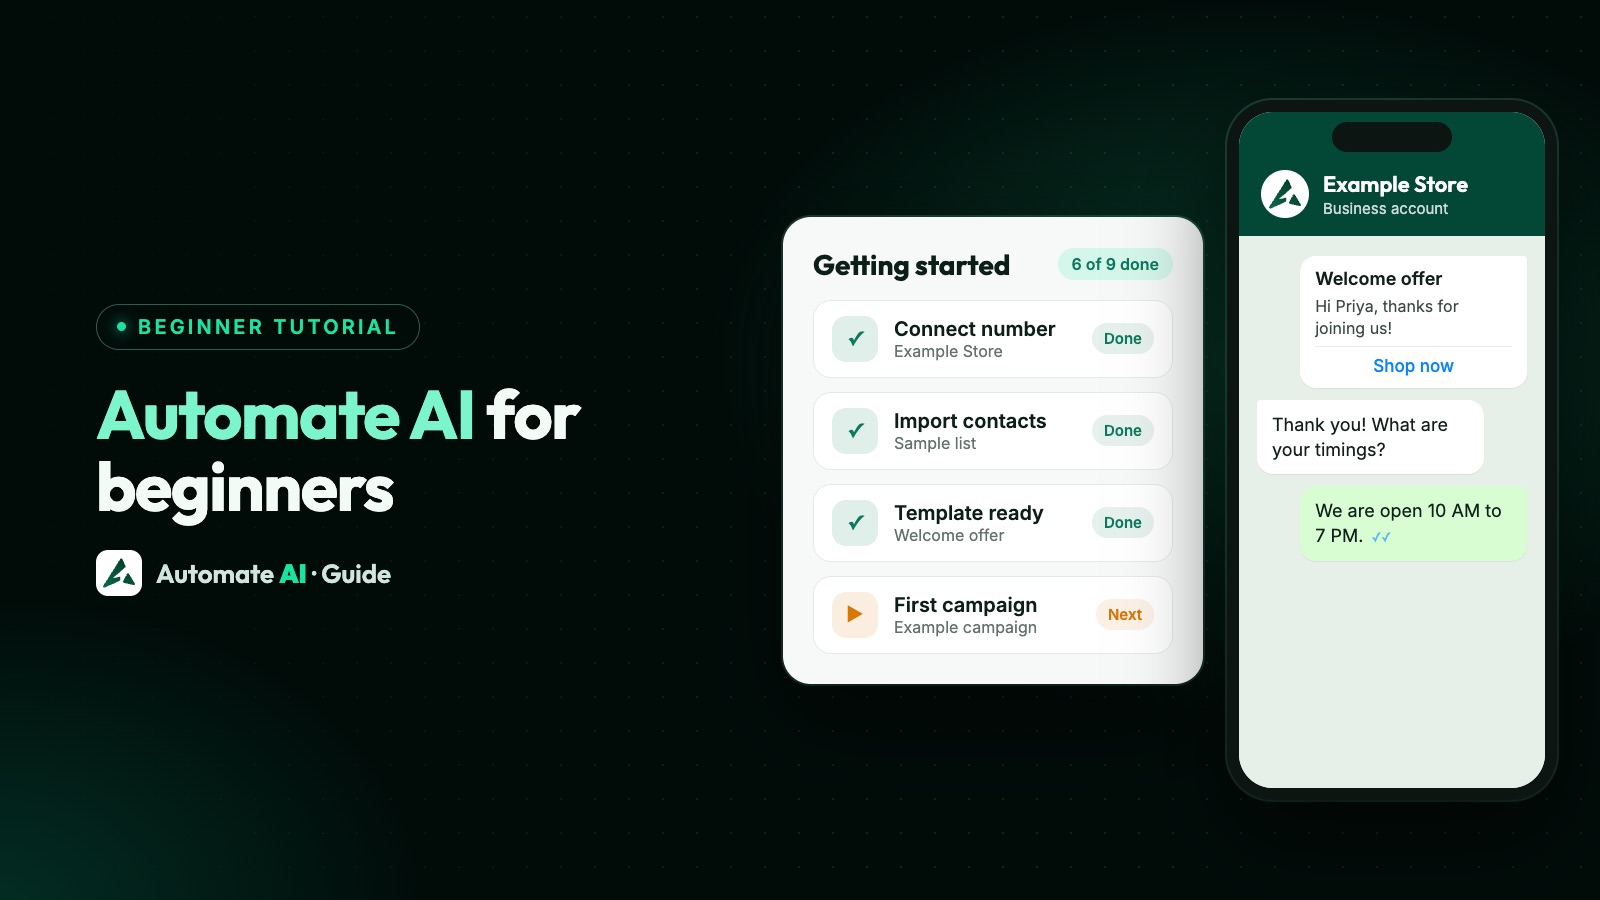
This tutorial takes you through Automate AI from scratch, in the order a new business uses it: sign up, connect your WhatsApp number, import contacts, get a template approved, send your first campaign, reply to customers as a team, and then let chatbots and AI take on the routine replies. Most steps take a few minutes. Meta’s template review usually takes minutes, and sometimes up to a day.
Every step names the exact menu in the app and links to the detailed guide in the Automate AI docs. Prefer to read it offline? Download the PDF version of this tutorial.
Key takeaways
- You need a Facebook account, your business details and a phone number you can verify by SMS or call.
- Messages you start must use a template Meta has approved; replies within 24 hours of a customer’s message don’t.
- Only message people who opted in to hear from you on WhatsApp.
- Campaigns, templates, drip sequences and click tracking all live under Campaigns, as tabs at the top.
- Chatbots are under Automation, and the AI Assistant is in Settings → AI Assistant.
What you need before you start
- A Facebook account that can manage your business on Meta. You sign in with it while connecting WhatsApp.
- Your business details: name, address and website, for your WhatsApp profile and for Meta business verification later.
- A phone number: a new one that isn’t on WhatsApp, or your current WhatsApp Business app number if you want to keep using the app (coexistence).
- A display name that matches your business. See the display name rules.
| Step | Where in the app | About how long |
|---|---|---|
| 1. Sign up and choose a plan | user.theautomate.ai | 5 minutes |
| 2. Connect WhatsApp | Connect WhatsApp | 10 minutes |
| 3. Profile, hours and wallet | Settings, Billing | 10 minutes |
| 4. Import contacts | Contacts | 5 minutes |
| 5. Create a template | Campaigns → Templates | 10 minutes, then Meta’s review |
| 6. Send a campaign | Campaigns | 5 minutes |
| 7. Reply as a team | Chats, Team | 10 minutes |
| 8. Automate replies | Settings, Automation | 15 to 30 minutes |
| 9. Switch on AI | Settings → AI Assistant | 15 minutes |
Step 1 and 2: sign up and connect WhatsApp
Sign up at user.theautomate.ai with your name, business name, email and phone number, and choose a plan on the pricing page. Then connect your number:
- Click Connect WhatsApp and choose New number › Connect a new number, or WhatsApp Business App number › Use my app number to keep using the app.
- Sign in with Facebook and pick, or create, your business portfolio and WhatsApp account.
- Enter the number and verify it with the code sent by SMS or call. With coexistence, you confirm in the WhatsApp Business app instead.
- Choose your display name and finish.
With coexistence, new messages, including the ones you send from the phone app, show in the Automate AI inbox. Past chats and app contacts aren’t imported, so the inbox starts from the day you connect. The full walk-through is in how to set up the WhatsApp Business API.
Step 3: your profile, business hours and wallet
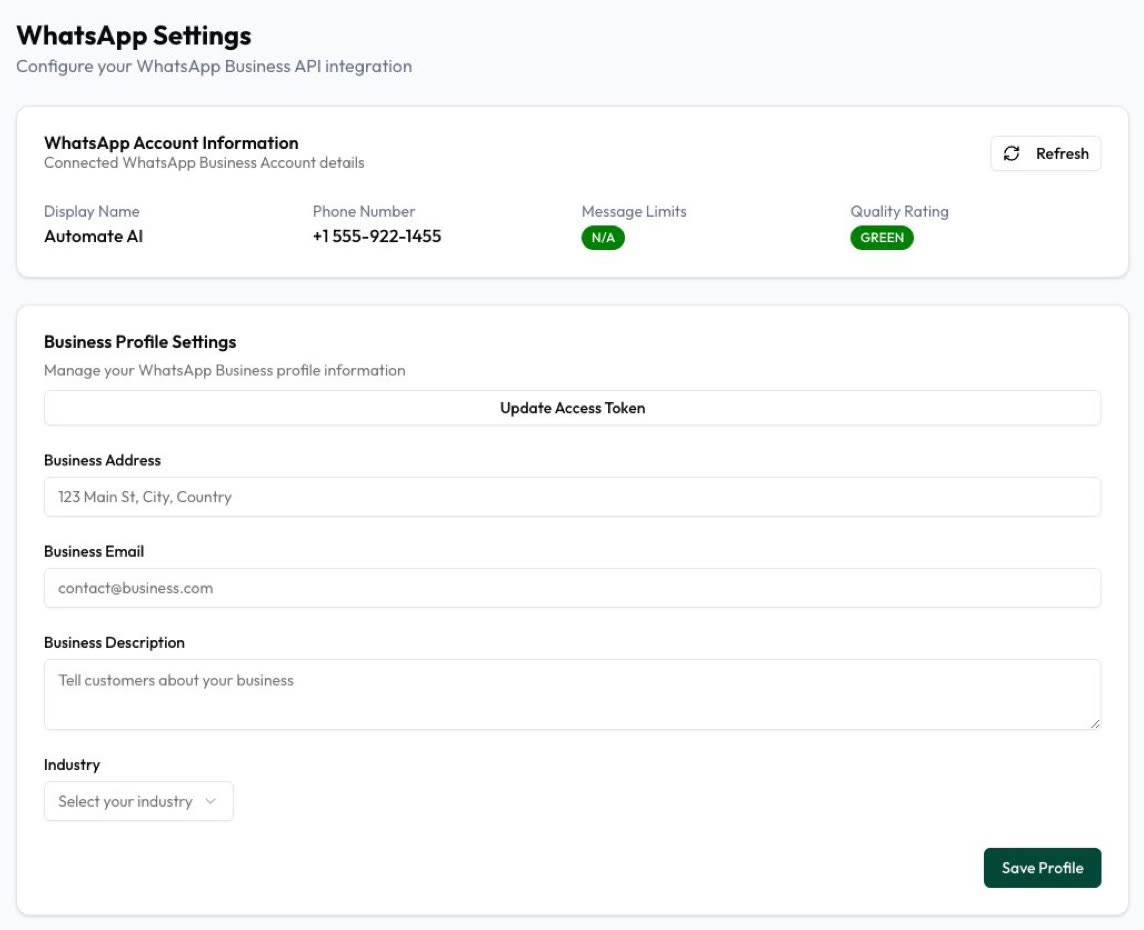
- Business profile: in Settings → WhatsApp, add your description, address, email, website and photo. See WhatsApp Business profile.
- Business hours: in Settings → Business Hours, set when you’re open. Drip messages wait for your hours, and the away message covers the time you’re closed (help).
- Wallet: WhatsApp charges each delivered message, paid from your wallet. Add funds in Billing → Wallet by UPI, card or net banking (help). Rates are on the pricing page.
Step 4: import contacts who opted in
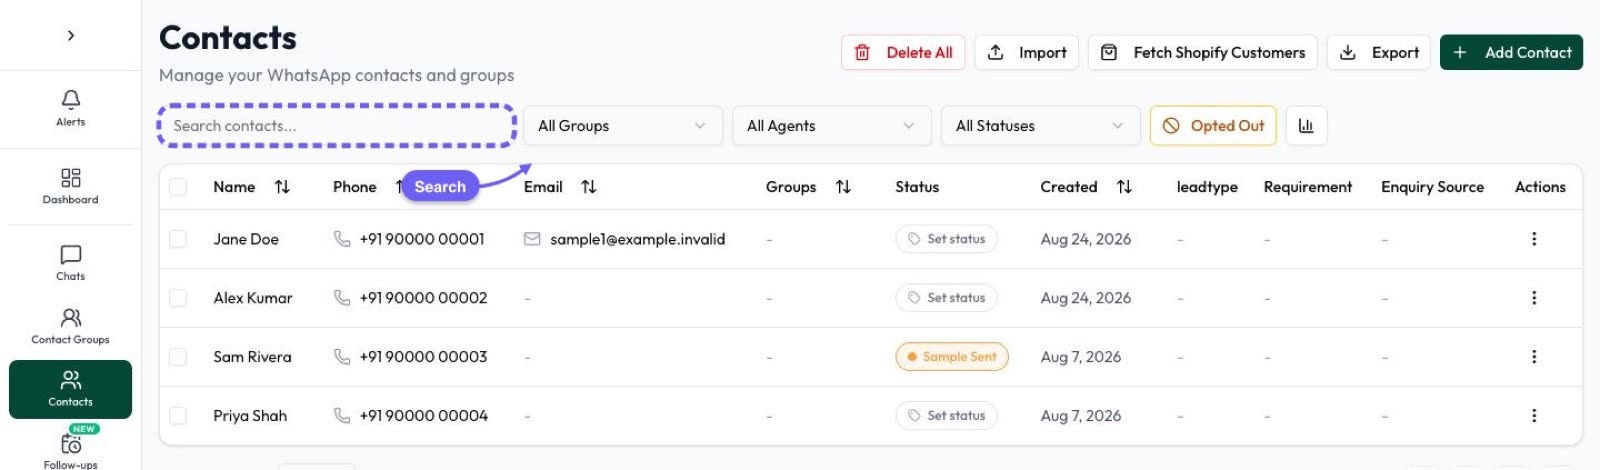
Open Contacts and import a CSV or spreadsheet. Columns are matched for you, and you can set a status while importing (help). Put people into groups under Contact Groups, so you can send to one list at a time.
Step 5 and 6: create a template and send your first campaign
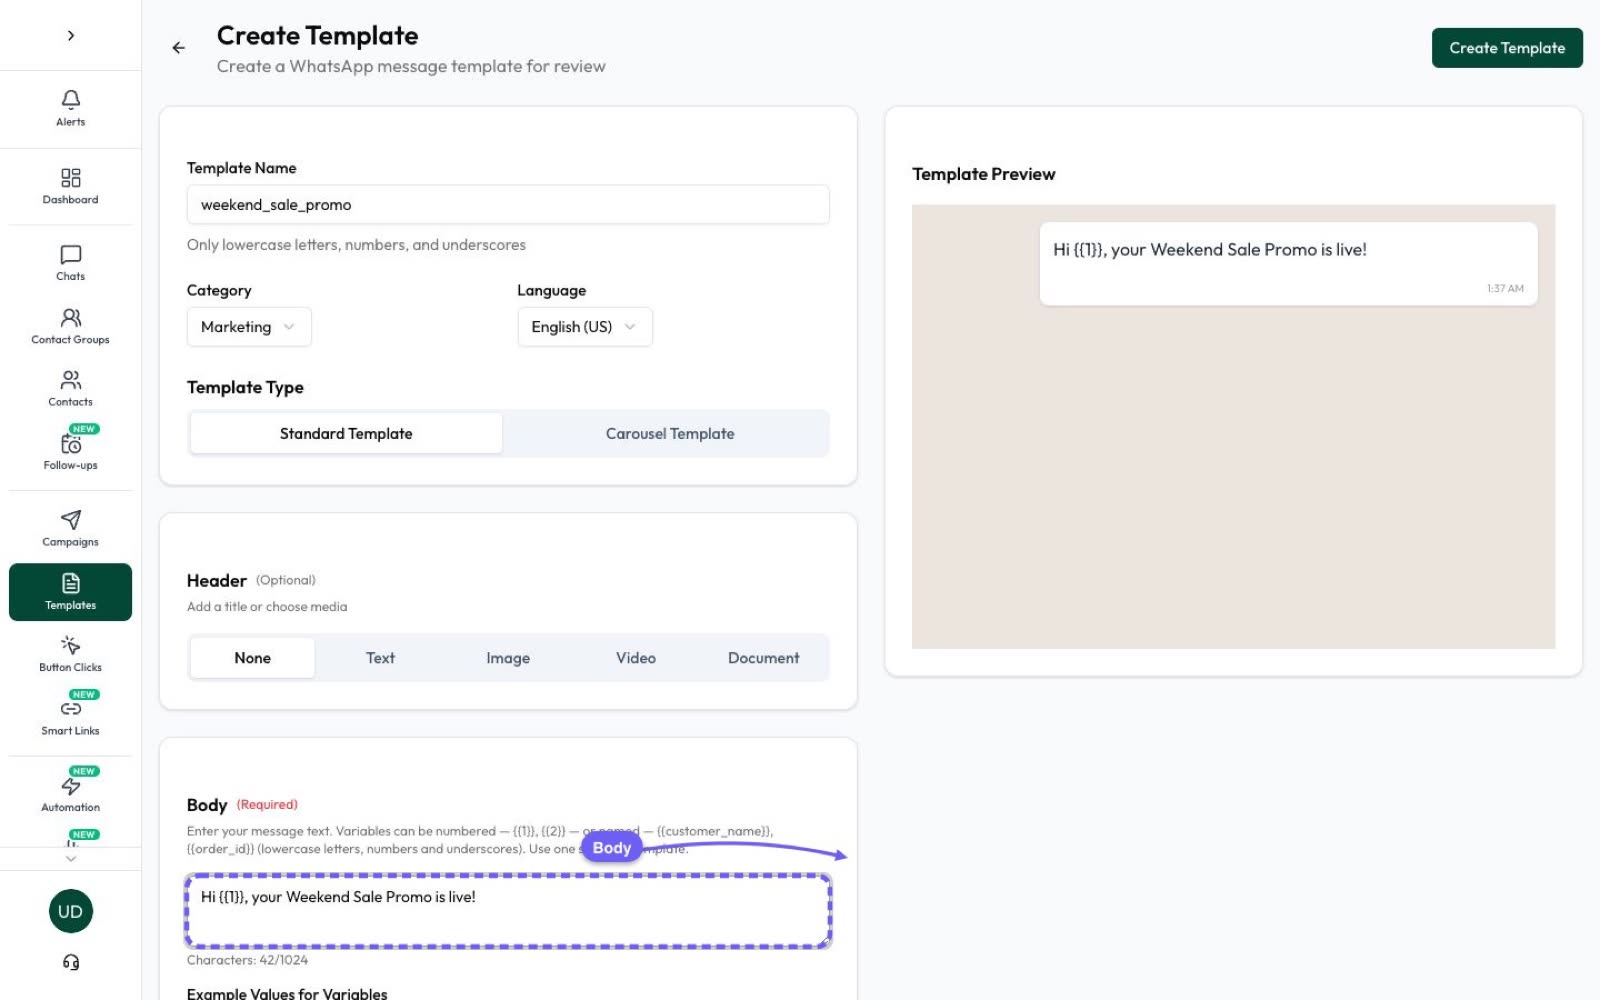
Messages you send first must be templates Meta has approved. Go to Campaigns → Templates → Create, pick the category (marketing, utility or authentication), write the text with variables such as the customer’s name, and add a header picture or buttons if you like. The live preview shows how it looks on a phone. Approval usually takes minutes.
- Go to Campaigns and start a new campaign.
- Choose your approved template and fill in its variables.
- Choose who gets it: a contact group, or a filter by status, tag or country.
- Send now or schedule it, then watch the results come in.
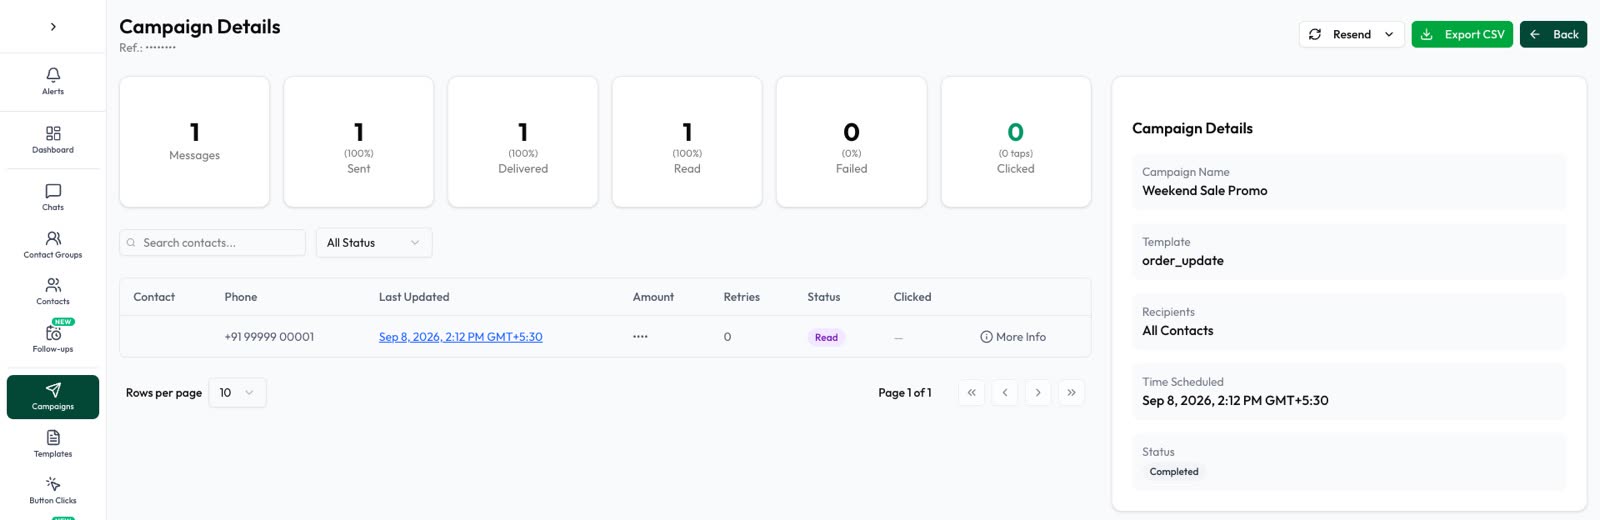
Each campaign shows how many messages were sent, delivered, read, replied to, failed and clicked. Our WhatsApp template messages guide and the template library help you write ones that get approved.
Step 7: reply to customers as a team
Replies arrive in Chats, the shared team inbox. Within 24 hours of a customer’s last message you can reply freely, without a template (the 24-hour window).
- Invite your team in Team as owners, managers or agents (help).
- Share chats out with Settings → Auto Assignment, so new chats go to whoever is least busy, or to a department.
- Save time with Settings → Quick Replies for answers you send often, and internal notes your customers never see.
Step 8: automate the routine replies
- Keyword replies: in Settings → Basic Replies, reply automatically when a message contains words like “price” or “timings” (help).
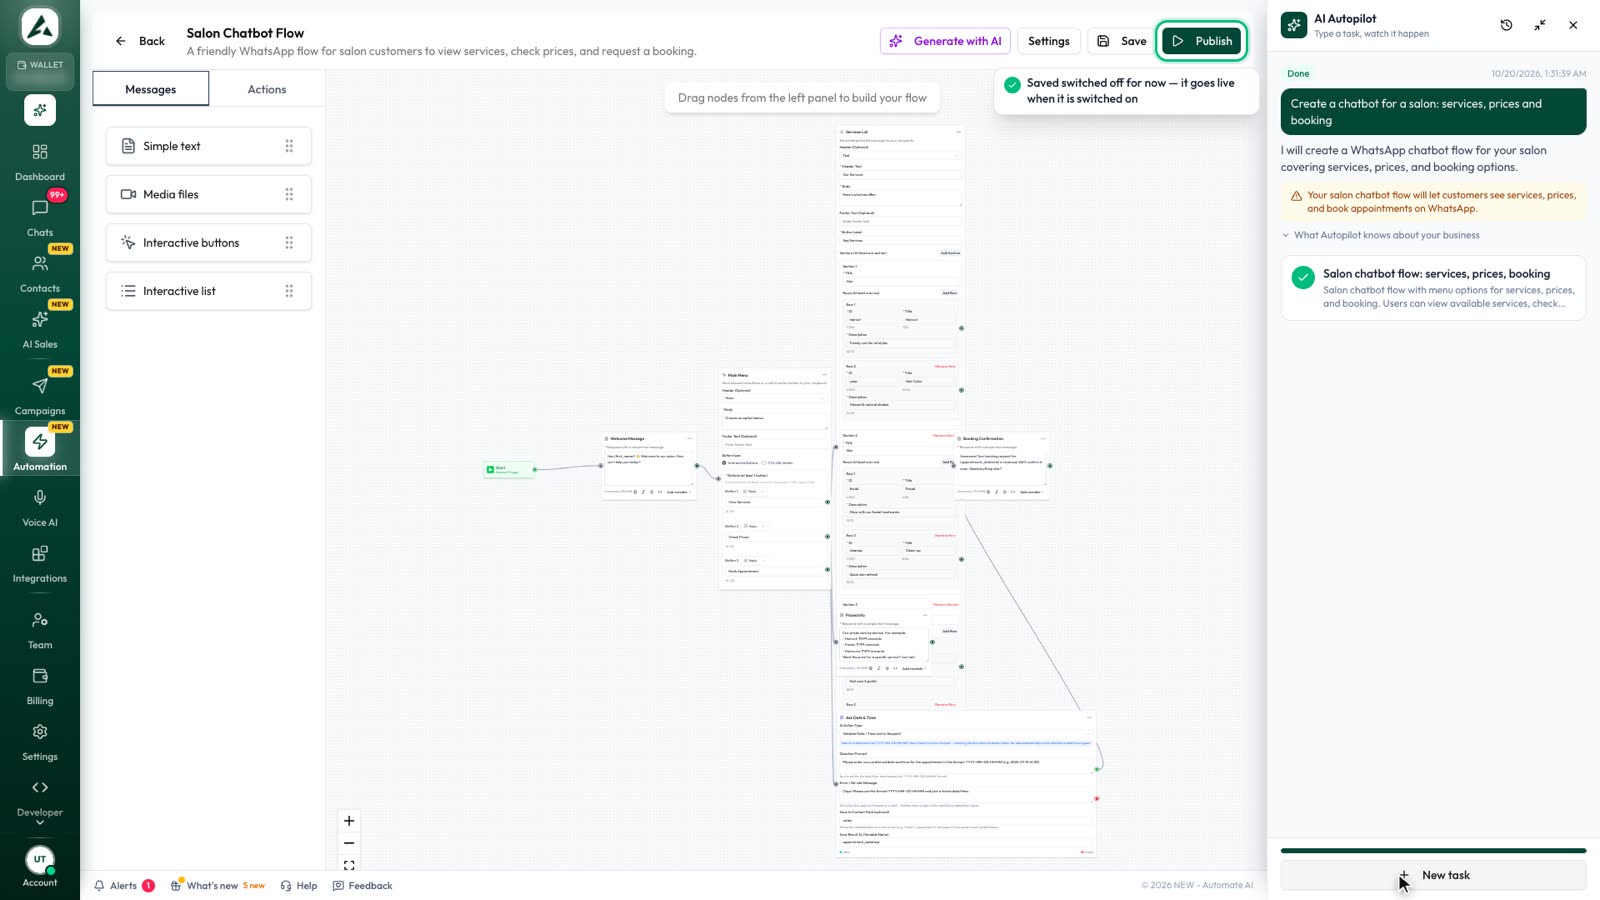
- A chatbot: in Automation, build a flow with buttons, lists and questions for new chats, with no coding (help). See how to build a WhatsApp chatbot without coding.
- Drip sequences: under the Campaigns tabs, send a series of messages over days, for example to new leads.
Step 9: let AI answer and do the busywork
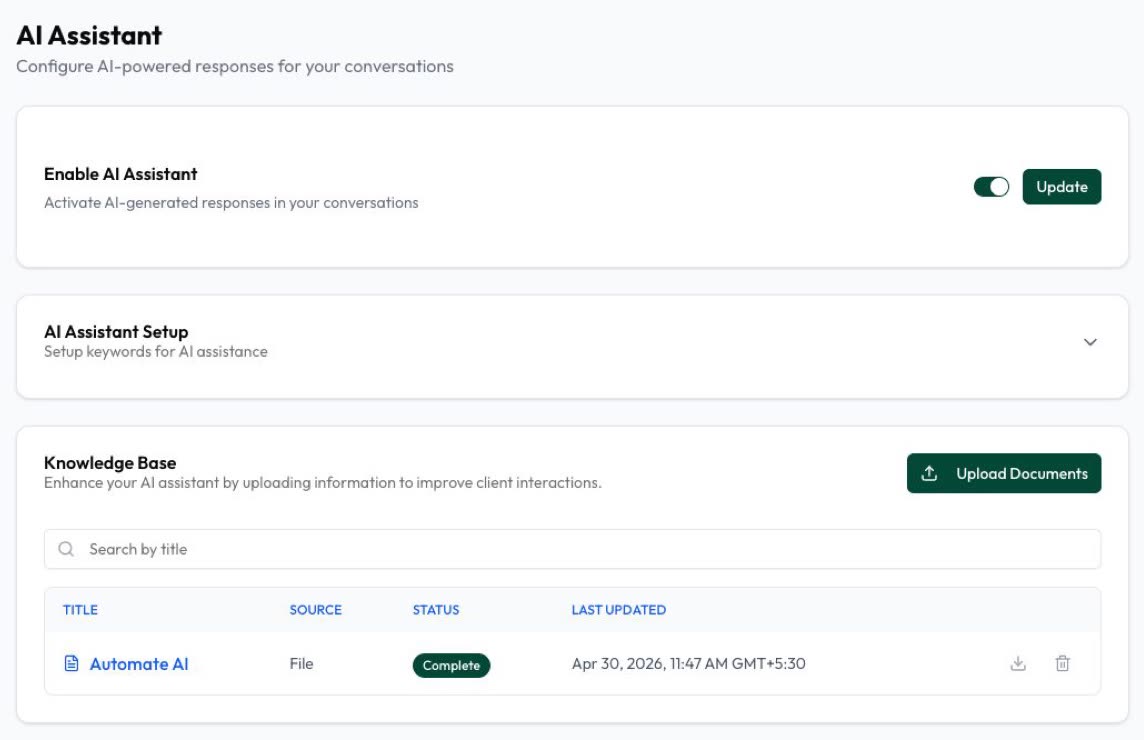
In Settings → AI Assistant, switch it on and give it your documents and website, so it can answer customers’ questions and hand over to a person when they ask for one (help). It’s included in the AI Assistant + Marketing + Automation Plan.
With AI Autopilot, you type what you need, such as “set up my chatbot” or “make a festive offer template”, and watch it do the work step by step. You can stop or correct it at any time. More in the AI Assistant.
Where to go next
- Detailed guides: every screen is explained in the Automate AI docs.
- Offline copy: download this tutorial as a PDF.
- Grow your list: WhatsApp lead generation and WhatsApp ads.
- Stay safe: send WhatsApp marketing without getting banned.
- Talk to us: book a free walkthrough on WhatsApp and we’ll set it up with you.
Frequently asked questions
Is there an Automate AI tutorial PDF?
Yes. This whole tutorial is available as a free PDF download, with the same steps and screenshots.
How long does it take to set up Automate AI?
About an hour for the steps in this tutorial. The waiting is mostly Meta’s template review, which usually takes minutes and sometimes up to a day.
Do I need to know coding?
No. Campaigns, templates, chatbots and the AI Assistant are all set up on screen. The API is there for developers who want it.
Can I keep using the WhatsApp Business app?
Yes. Choose “Use my app number” when you connect, and you keep the app while new messages also show in Automate AI. Past chats aren’t imported.
Where can I get help if I get stuck?
The docs explain every screen, and our team can join a call and set it up with you: see contact us.
Sources
- Meta: WhatsApp Business Platform overview
- Meta: message templates
- WhatsApp Business Messaging Policy
- Automate AI documentation
WhatsApp rules and prices change. We check these guides against Meta’s documentation, but always confirm current terms with Meta before you rely on them. Questions? Message us on WhatsApp at +91 836 977 8812.